

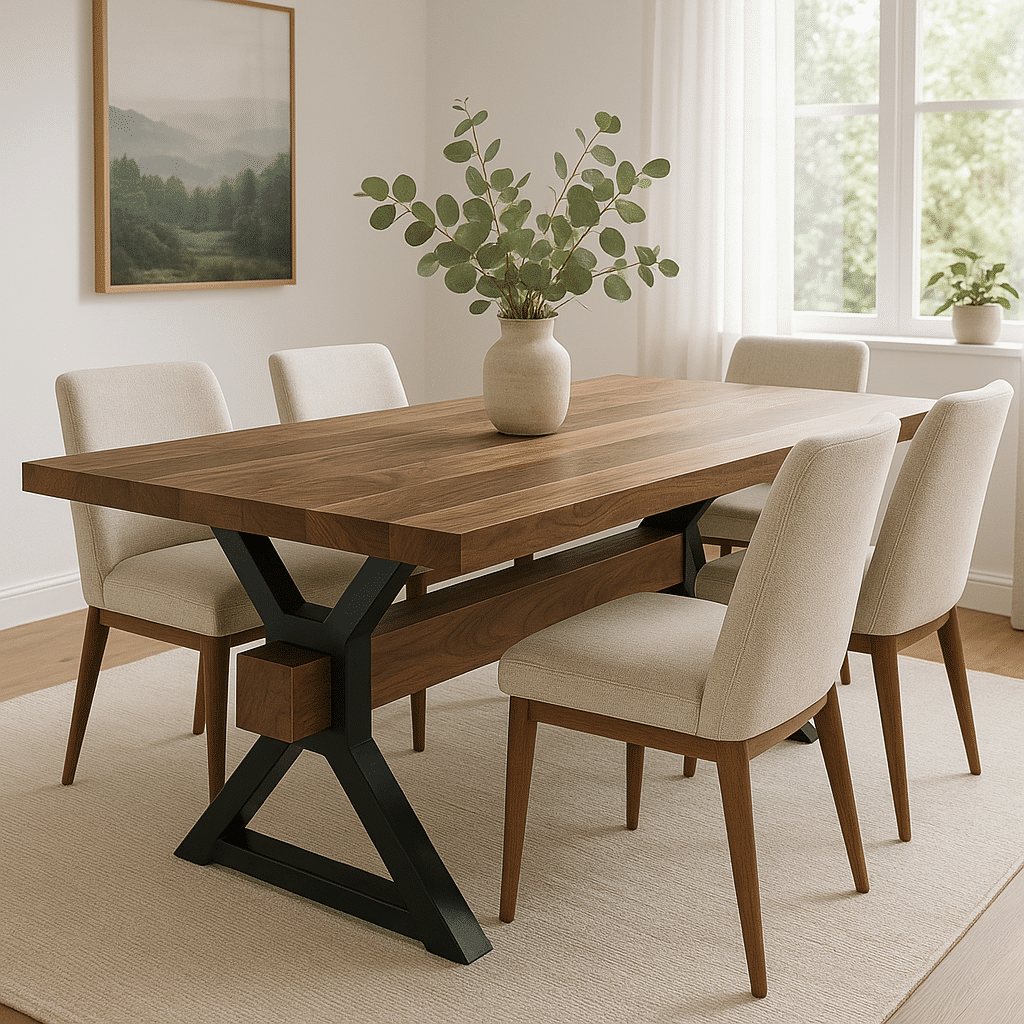
How to Build a Dining Table (The Reclaimed Way)
So you want to build a real table—not some wobbly IKEA thing—but a proper wood table that’ll last generations. Here’s how we do it, step-by-step:
1. Choose Your Wood
- Go for hardwood: Black Walnut, White Oak, Maple, or Ash are all great.
- Buy rough-sawn lumber from a hardwood supplier, not a big box store. Get boards that are 6–10″ wide and 1.75–2″ thick.
Tip: Let your wood acclimate to your space for a few days before you start building.
2. Mill the Wood
You’ll need a jointer, planer, and table saw.
- Joint one face flat, then joint one edge.
- Run the board through a planer to get uniform thickness.
- Rip to width on the table saw.
- Square up the ends.
No jointer or planer? Buy S4S lumber (surfaced on 4 sides) and skip this step—but expect to pay more.
3. Glue Up the Top
- Lay out your boards to get the best grain match.
- Use wood glue and bar clamps to glue the boards edge-to-edge.
- Clamp evenly and wipe off squeeze-out.
- Let it dry overnight, then scrape or sand flush.
Optional: Use biscuits or dominos to help with alignment, but wood glue alone is plenty strong.
4. Sand the Top
- Use an orbital sander: 80 grit → 120 → 180 → 220.
- Sand the edges and corners to soften them.
Take your time here—this is what people will see and touch every day.
5. Build the Base
Choose your style: trestle, X-base, or straight legs. Wood or steel both work.
For a simple wood base:
- Use 4x4s or laminated 2x4s for legs.
- Add horizontal stretchers to keep it stable.
- Pocket screws, lag bolts, or mortise-and-tenon joinery all work, depending on your tools.
Make sure it’s square. Measure diagonals and use clamps.
6. Attach the Base
- Use figure-8 fasteners, Z-clips, or slotted brackets to allow for wood movement.
- Never screw the base directly into the top without accounting for expansion/shrinkage.
7. Finish It
- Wipe off all dust.
- Apply a durable finish like oil-based polyurethane, hardwax oil, or a conversion varnish.
- Apply 2–3 coats, sanding lightly between coats.
We love Rubio Monocoat for a natural, matte look. It’s easy to repair later too.
8. Enjoy the Heck Out of It
You built a real table—solid, heavy, beautiful. It’ll get scratched and dinged over time, and that’s part of the story.
Tools You’ll Need (Minimum):
- Orbital sander
- Clamps (lots of them)
- Drill/driver
- Circular saw (if no table saw)
- Wood glue
- Tape measure/square
Nice to Have:
- Jointer + Planer
- Table saw
- Router for edge profiles
- Biscuit joiner or domino
www.reclaimedcl.com
How to build a dining table.